Matterport Workshop 2.0 - How to Use Guide976
Pages:
1
 WGAN Forum WGAN ForumFounder & WGAN-TV Podcast Host Atlanta, Georgia |
DanSmigrod private msg quote post Address this user | |
| The following is the text of an email (25 November 2015) from the Matterport Team. I created this thread in case you want to comment about this topic ... Best, Dan -- Familiarize yourself with a better, easier Workshop Dear Matterport Customer, We’ve seen a huge positive response to the new and improved Workshop experience released a few weeks ago. Workshop Classic will soon be going away, and all of your favorite editing functions will move to a new, unified Workshop. Here are a few tips on how to quickly perform basic Space editing in the new Workshop. We hope this will ease your transition. Setting a start location in the new Workshop The first time you open a Matterport Space in the new Workshop, you’ll be prompted to set a start location, which controls where users enter into a Space, and the snapshot that appears before a Space is loaded. To set a start location, move to the desired position and view direction, and click Set Start Location on the overlay. This will create a snapshot and set it to the start location. If a start location is not set, the first snapshot taken from the Space will become the start location by default. To access the start location dialogue after the first time you edit a Space, click on Start Location at the top of the Objects Menu.  Changing the start location in the new Workshop You can change the start location at any time via the Start Location dialogue. Simply navigate to the new desired start location and click Update Start Location, which will prompt you to collect a new snapshot.  You can also update your start location to an existing snapshot, as long as two or more snapshots exist. 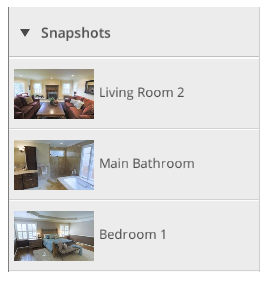 To change your start location to an existing snapshot, click Snapshots from the Objects Menu, and select your desired snapshot. In the snapshot information panel on the right side of your Workshop viewport, click Set as Start Location. This snapshot will now appear at the top of your snapshot list. Hiding scans in the new Workshop Hiding extra scan positions can greatly improve the Inside View experience. To hide scan positions, select the desired scan from the 3D Scans list within the Objects menu. If you do not see you list of scans, click on the arrow button next to the bolded word Scans. Hide will appear under a scan once it is selected. Click Hide to turn the scan position off. 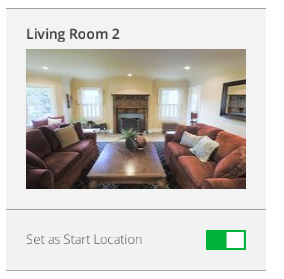 This snapshot will now appear at the top of your snapshot list. Hiding scans in the new Workshop Hiding extra scan positions can greatly improve the Inside View experience. To hide scan positions, select the desired scan from the 3D Scans list within the Objects menu. If you do not see you list of scans, click on the arrow button next to the bolded word Scans. Hide will appear under a scan once it is selected. Click Hide to turn the scan position off. 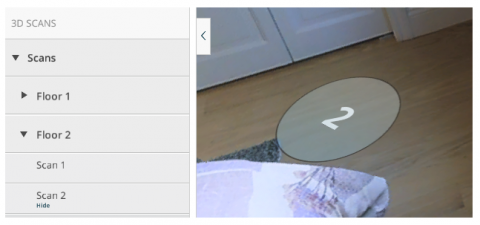 An eye icon will appear on the right side of the scan in the menu to indicate that it has been disabled. Users cannot navigate to disabled scans in 3D Showcase. To re-enable a scan location, click the word Show below the scan position. 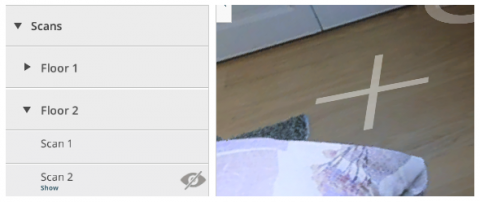 Soon, you will also be able to collect measurements and label rooms in the new Workshop. In the meantime, you still access these features in Workshop Classic. We look forward to providing you with a single, consolidated Space editing solution. As always, please contact us at support@matterport.com with any questions. Thanks! The Matterport Team Copyright © 2015 Matterport Inc. All rights reserved 140 S. Whisman Rd, Suite A Mountain View, CA 94041 Corporate Office +1 (650) 641-2241 |
||
| Post 1 • IP flag post | ||

Omaha, NE |
judysmithre private msg quote post Address this user | |
| Thank you Dan! | ||
| Post 2 • IP flag post | ||
Pages:
1This topic is archived. Start new topic?

